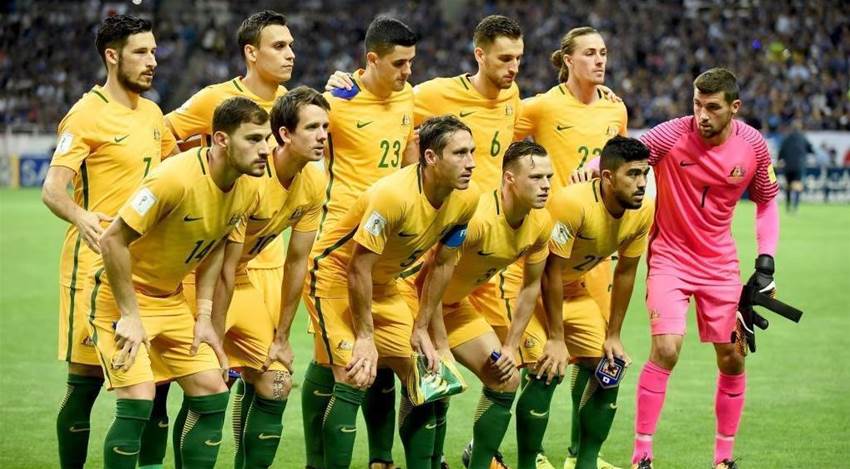
“We didn’t have the night we wanted to”. This line, uttered by a dejected and defeated Ange Postecoglou after missing the chance to book his tickets to next year’s World Cup, managed to encapsulate the feelings of a disappointed nation.
Japan boss Vahid Halilhodzic was under heavy pressure prior to the match, despite the fact that his team were already sitting in first position.
The Blue Samurai were very well organised throughout, with a clear plan to force errors and launch subsequent counter attacks evident from the outset.
Halilhodzic took huge risks with his team selection, dropping stars such as the legendary Keisuke Honda, Dortmund-based Shinji Kagawa and Premier League winner Okazaki to the bench.
Gen Shoji was given his sixth cap next to Southampton’s Maya Yoshida, lining up next to the experienced Yuto Nagatomo, who began the game at left back.
Makoto Hasebe earned his 106th cap for the Blue Samurai, starting in midfield behind forwards Asano, Inui and Osako, who have scored eleven international goals between them.

Ange Postecoglou continued with the system which has been the brunt of much public ire in recent times, picking Spiranovic and Milligan either side of Trent Sainsbury.
Brad Smith contentiously started on the left flank, with in-form Mat Leckie opposite. Hull City-bound Jackson Irvine lined up in midfield with Luongo, Troisi and Rogic.
Perhaps the biggest risk was to start Robbie Kruse up front, who was widely lambasted post-game for his performance in front of goal.
Australia’s box midfield
Part of the allure of Ange’s system is the inclusion of the four central midfielders.
Interestingly, these players do not form a diamond shape – as most systems with four midfielders do – but instead forming a box.
This shape offers an interesting progression from this traditional idea, allowing for the use of a greater amount of space spread out over the possibility of four distinct lines of play.

The box midfield was not restricted to either in or out of possession, but permeated through all of Australia’s midfield operations.
When building up from the back, as per the diagram above, one of either Irvine or Luongo would drop from a slightly higher position to link with a centre-back.
From here, the box midfield offers a state of balance unlike many other tactical variants in football.
All four players are responsible for maintaining midfield equilibrium, responding to each other’s movements in order to preserve four distinct heights, thereby increasing the difficulty for the defending team.
As pictured, Irvine drops off to engage within the defensive third, inciting Rogic to move to a slightly lower position as a result. In reaction, Luongo moves higher, as does James Troisi. In this sense, the balance of the midfield remains the same.
In addition to the state of balance the box midfield supplies, it also generally supplies numerical superiority in central areas.
This is an important aspect of the modern game, where many possession-based teams strive for more players within a certain area than the opposition.
In the above diagram, it can be clearly seen that Australia outnumber Japan four players to three in the central zone. For large parts of the first half particularly, the Socceroos were able to circulate possession with relative ease.
Numerical superiority is also an advantage defensively, as the spare man is able to engage in a double press, mark incoming runners, or cover dangerous space.
Japan’s excellent defensive equalisation
The box midfield Postecoglou employs usually is able to serve as perhaps the most effective element of the Australian playing system.
However, Halilhodzic was able to negate the effects more successfully than any team previously, including the likes of Germany, Chile and Brazil.
This served as the basis of their match strategy, waiting for an error from the Australian players before quickly getting the ball forward.
Cleverly, Japan were able to implement horizontal and vertical shifts with the aim of equalising the numerical superiority in central areas, and did so successfully for consistent periods of the game.

Playing three in midfield against Australia’s four, it was clear that Japan needed centralised reinforcements in order to avoid being dominated in central areas of the field.
Interestingly, their ability to do so hinged on the fullbacks, as highlighted in yellow above. Kruse was left with the central defenders, with the ball-side fullback pressing the Australian winger stationed on that side of the field.
In this case, the right-back positions himself in an area where he can cover the space behind him, but also be close enough to pressurise Brad Smith’s first touch should he get receive the ball.
Now the closest wide threat has been eliminated, the Japanese midfielders orient themselves towards their direct opponent within the central zone.
However, as mentioned earlier, this situation in isolation was 4v3 – the fullback furthest from the ball would fill this void.
Stepping up off of the defensive line, the opposite fullback would position himself in close proximity to the attacking midfielder on his side of the field.
At this moment, the situation is equalised in a 4v4, removing a major Australian threat in the process.
The spare man then became Mat Leckie on the opposite flank to where the ball was, who did not offer a direct threat to the Japanese goal.
Had Postecoglou been more pragmatic in his approach, he may have encouraged a direct switch of play into the space behind the advanced fullback for Leckie to run onto.
Failure to do so allowed Japan to negate a main threat without another appearing, as most tactical decisions create. This particular conflict was a clear win for Halilhodzic.
Japan’s high press
Combined with the above defensive scheme, Japan also attempted a much higher press when Australia were building up from Mat Ryan, taking advantage of a perceived weakness in his distribution, as well as the appearance of technical deficiencies concerning the back three.

Time and time again, the press illustrated above caused the Socceroos to turn over possession in dangerous areas.
The three most central players were man-marked by their opposite players, cutting off these options completely and preventing Australia from alternating possession from the outside to the inside of the pitch.
Importantly, these players were also cut off from the subsequent sequence of possession, restricting the options of the player on the ball to wide players or a longer ball further up the field.
The players who weren’t against a direct opponent were positioned in a way which allowed them to press one of two players, dependent on who would receive the ball. For example, the Japanese right winger is positioned in a way which allows him to press either Matthew Spiranovic or Brad Smith.
This is then coupled with another player to increase the effectiveness of the press. For example, if Spiranovic was to receive the ball, the right winger and the central striker are responsible for pressing him together.
This element of Japan’s approach allowed them to restart play closer to the opponent’s goal, ensuring a quicker route for counter attacks as well as a minimalization of Australia’s attacking threat.
Conclusion
An all-round brilliant defensive performance coupled with enthusiastic counter-attacking from Japan ensured their place at next year’s World Cup.

Australia know that in order to stand any chance of automatic qualification, they will have to beat Thailand on Tuesday as well as hope for a strong Japanese performance against Saudi Arabia.
Failure on either front could potentially complicate matters further and place Postecoglou’s legacy of effective possession, as well as his position, at risk.
Related Articles

Socceroos midfielder embraces move to England

Cardiff City snap up sought-after Socceroos starlet


