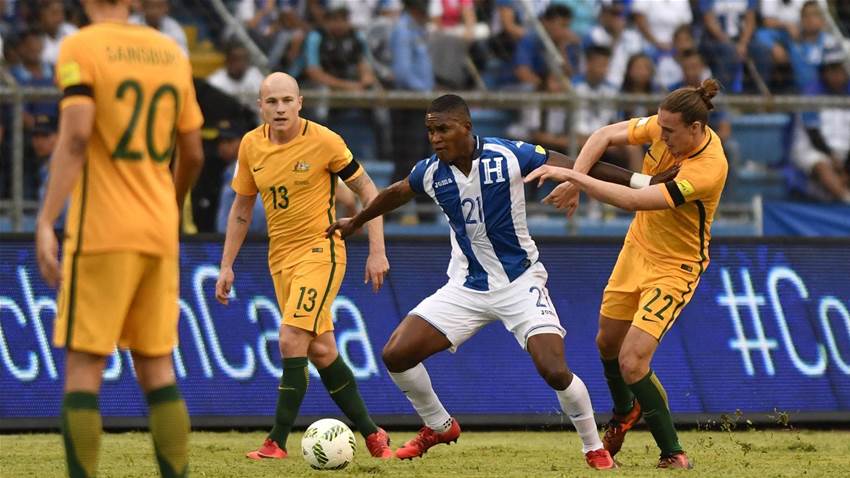
A change in Ange Postecoglou’s system saw the Socceroos dominate a pacey Honduras side, coming away from the tricky away leg with a clean sheet, but no goals.
Aaron Mooy (left-sided central midfielder)
The Huddersfield star enjoyed a fairly extended range of movement, and was provided with the most freedom of all the midfielders. This allowed him to perform a number of key functions, both offensively and defensively. Without possession, Mooy would generally either press the ball carrier if in close proximity or cut the line of one of the midfielders to prevent Honduras from playing a short option.
In combination with Luongo, this restricted the options of the possibilities of the Hondurans and often forced a long ball. With the ball, there were two distinct responsibilities for Mooy; the first was his engagement with left-back-cum-winger Aziz Behich, and the second was his vertical movement into the space either side of Jackson Irvine.
Mooy’s interactions with Behich were crucial to the effective penetration of the Socceroos. As shown below, they would work together as often as possible to overload the opposition full-back, either allowing space for Mooy on the outside of the box or for Behich to get in behind the Honduran back four.

Mooy and Behich’s combination on the left-hand side.
The two had a very good dynamic throughout the game, with Mooy in particular reacting quickly to whenever Behich vacated space for him to move into. For example, if Behich engaged in the vertical movement that was experienced in the second leg against Syria, Mooy would move laterally to fill the space that was left behind.

When this movement (above against Syria) occurred from the left wing, Mooy would move into the vacated space.
As mentioned earlier, Mooy also had another aspect to his role. With Jackson Irvine as the sole attacking midfielder, there was more space available on that line than there is when Australia’s usual box midfield is employed.
Due to this, Mooy and Luongo were able to attack these spaces from deep, creating another method to get in behind the Honduran defenders – but more on this later.
Massimo Luongo (right-sided central midfielder)
Like Mooy, QPR skipper Massimo Luongo enjoyed a fairly generous range of movement, although not quite to the same degree as his teammate. When Honduras were on the ball, Luongo played a slightly different role to Mooy.
In order to combat the transition football from Honduras, Luongo would position himself in central areas where he would be in an optimum position to win the second ball. In some respects however, he complemented Mooy’s responsibilities.
For example, during the rare constructed build-up moments of Honduras, Luongo would man-mark his closest midfielder in an effort to limit options ahead of the ball. However, Luongo’s talents were best used when Australia had the ball – he found himself consistently involved in many phases of possession, from acting as a wall to return a pass or driving forward, progressing the play alone.

Luongo’s positioning behind two Honduran lines of pressure posed a serious threat.
During build-up, Luongo offered a different option to Jedinak in a position which was higher risk but higher reward.
When Jedinak was behind the first line of pressure, Luongo moved himself into a passing line which intersected two – if the passes into him were successful and he received the ball facing forward, Luongo could directly start an attack against only a few Honduran defenders.
Unfortunately, this did not happen regularly, but a pass of such difficulty cannot be expected to happen frequently. He was also tasked with occupying the central area of the pitch ahead of Jedinak as often as possible, ensuring at least one option between the two to switch the play from a higher position, as well as offering further protection against potential counter-attacks.
Like Mooy, Luongo was also able to exploit the spaces either side of Irvine, which is explained in further detail on the next page.
Related Articles
Champion A-League coach set to join Premier League giants

Under the gun: Spurs fans want Ange to be a loser in night of spite

